
|
|
|
Welcome to xtremedecals, we manufacture a wide range of
motorcycle and sports bike decals and stickers
in a large range of plain colours, chrome colours and carbon fiber.
We are currently processing honda-decals.com and xtreemedecals.com whilst their systems are being upgraded Just click on the menu or type in the search box to find the decals you need All decals are made to order and are usually mailed out within 4-5 working days. Tracking numbers are posted on PaypalClick here for a video of how to peel our decals Although our decals will last many years if just applied all of the decals we supply can be clear coated and we recommend that if you choose to clearcoat that you use a fast set clearcoat. All orders are shipped within 5 working days of being placed If you need a decal in a size not offered on the site just email us and we will add this to the website for you. If you wish to pay by IBAN or Bitcoin let us know which decals you need and we will send you the payment option details emails to [email protected] 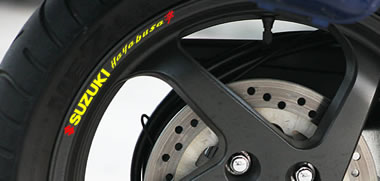 See our new Wheel Rim Decals 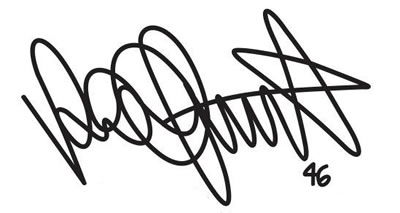 See our range of Signature decals 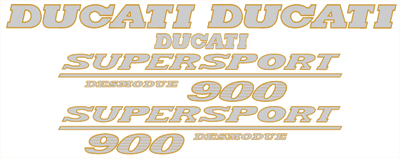 See our range of Ducati 900 decals |
|

11210
Yamaha MT-10 decal with full colour choice for the Yamaha MT10 bike
$4.00
2892
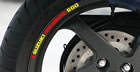
Suzuki GSR 600 Rim Decal set , choose colours, comprises of 8 decals with the correct curve, four for each wheel, approx 7 inches long (18cm)
$12.00
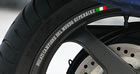
1999
Ducati Campione de mondo Superbike Rim Decal set , choose colours, comprises of 8 decals with the correct curve, four for each wheel, approx 8 inches long (20cm) with colour choice
$15.00
|